 |
| Isn't it lovely, isn't it wonderful? |
Last year has not only been busy job-wise, I also started two larger projects we still need to review. The first started actually exactly a year ago, the tack locker project. I always dreamed of a huge tack locker that would hold all the stuff I need for a show. The ones that you can buy are pretty expensive so I started researching DIYs and materials and eventually started the project in January 2017. While I could not take the box along for the first show back in late January, it was more than ready in March. I have no idea how much time I spent on it as I kept working on it on weekends but not continuously. I made several mistakes that set us back and it took a little longer that actually hoped but the result is amazing! I simply love my tack locker - which is really custom made.
 |
| It all started off with some Ikea parts - the basis which I built the tack locker around |
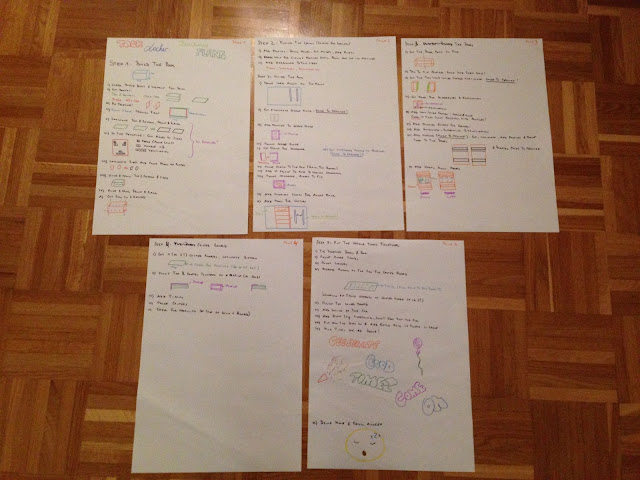 |
| Planning and hours of research, materials ordered from Germany and... |
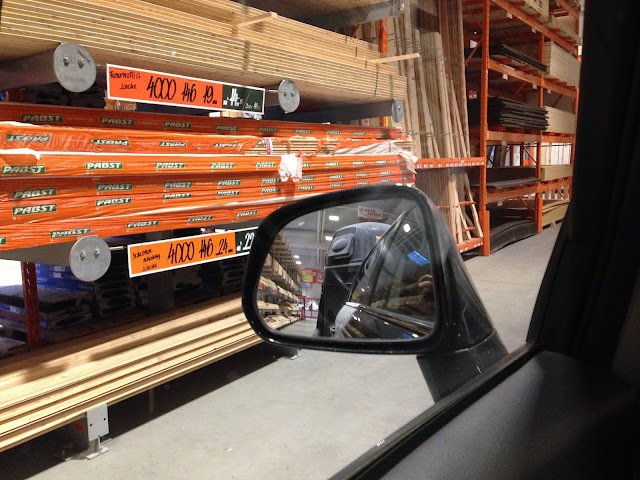 |
| ...a trip to Home Depot with the trailer to get the plywood |
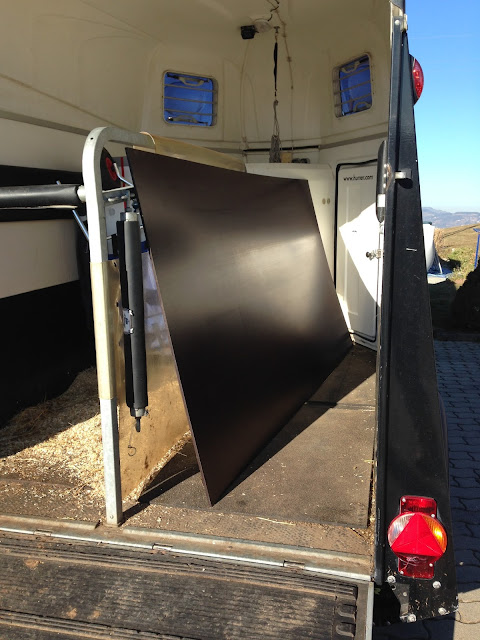 |
| The plywood hardly fit in the trailer... |
 |
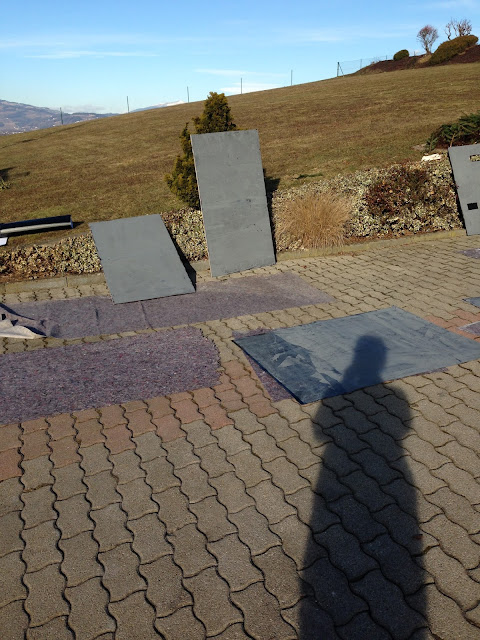
| Endless cutting with the help of my brother and father |
 |
| The original plan was to put carbon stickers on the outside of the plywood to turn it black - which turned out to be a huge fail as the stickers did not, well, stick. So we started off with some extra layers of glue. Yet another stupid idea as the stickers still did not work out - and we had to get rid of those glue layers afterwards. One of the time-consuming mistakes in this project. |
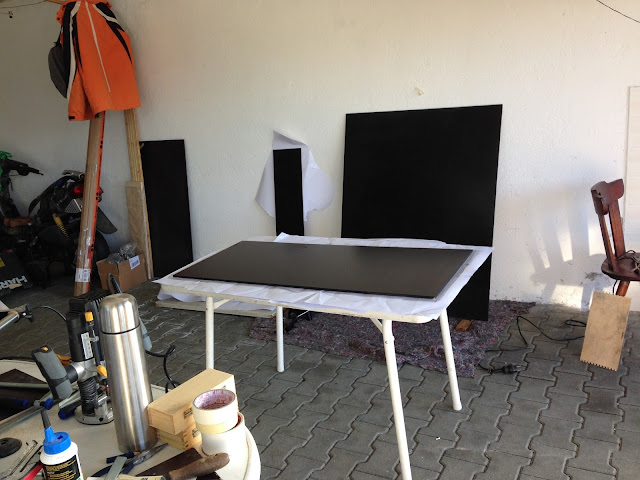 |
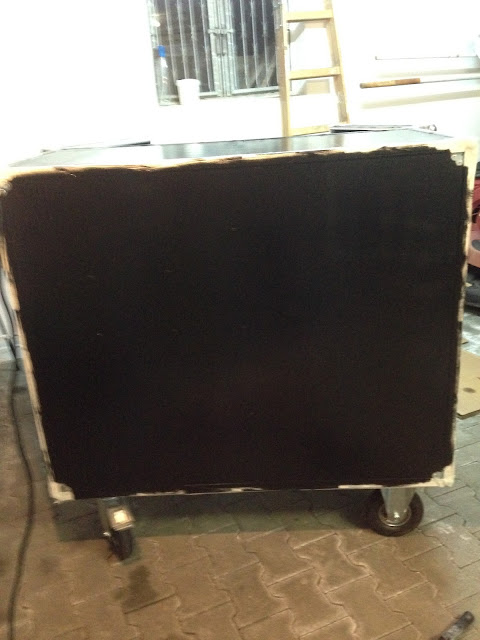
| The second try: paint it black. Good idea. At least, that's what we thought. |
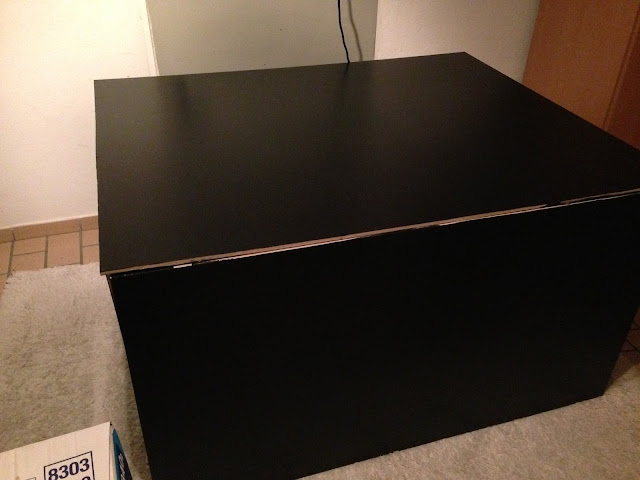 |
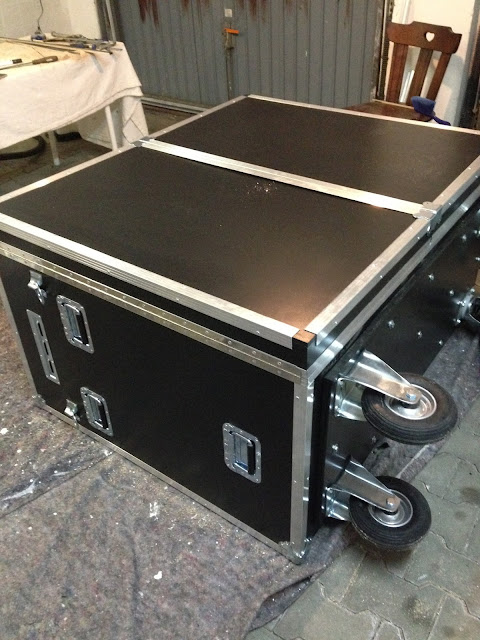
| After painting the pieces, we put a huge box together... |
 |
| just to realize that our measurements might not have been that accurate....Bummer. |
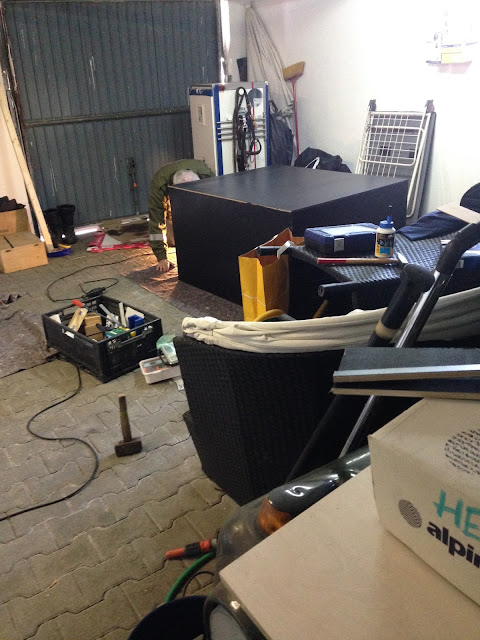 |
| We moved the huge box back into the garage to... |
 |
| ...cut it open. The front part would ake up for the doors. |
 |
| I learned in one YouTube tutorial that this was the only option to make the doors fit a 100%. We would only learn later that this is only true when there are no measuring mistakes. |
 |
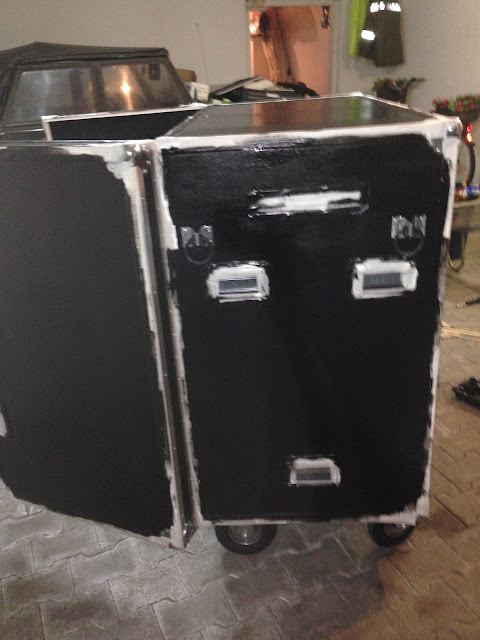
| The most annoying part - putting up all that hardware. Not only did it cost a fortune, countless pre-drilling, riveting, redoing the rivets, opening the whole stuff, riveting did cause a lot of anger. A lot.l |
 |
| At least, the Ikea parts fitted well. A little success. |
 |
| Oh my, those doors. It should take my dad forever to make them open and close properly. And they are still not perfect but he had to undo all the rivets and cut the doors to fit - I had no nerves anymore to do that. Without him, I would still have a box without doors. |
 |
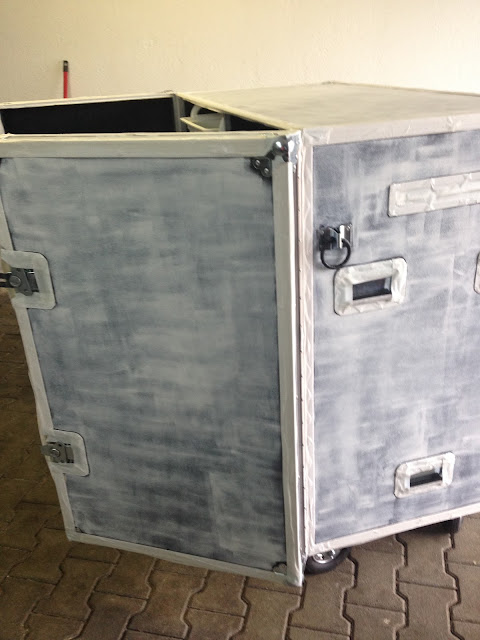
| The tack locker hurt me. Actually, that was the angle grinder. |
 |
| Oh that moment we realized that the paint would not last. Let the grinding begin. |
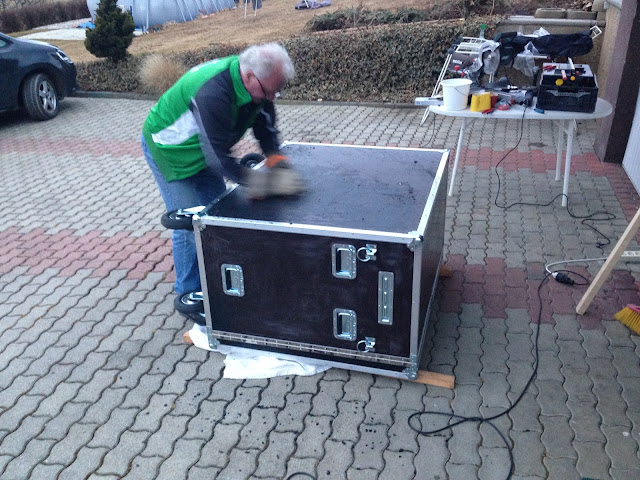 |
| More grinding. |
 |
| Enough grinding. |
 |
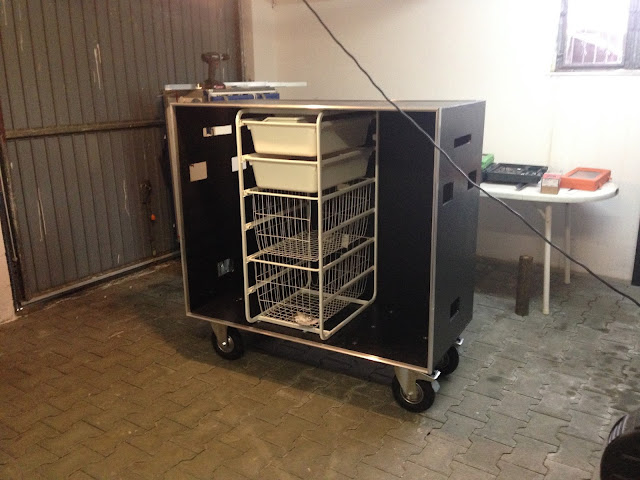
| As much as I hated the outside, I started to work on the inside... |
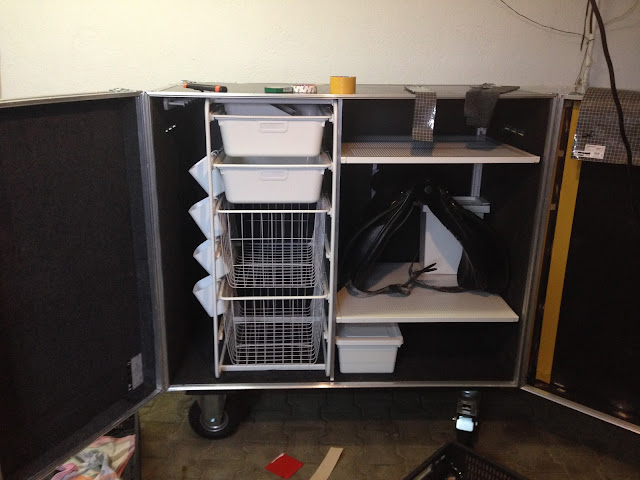 |
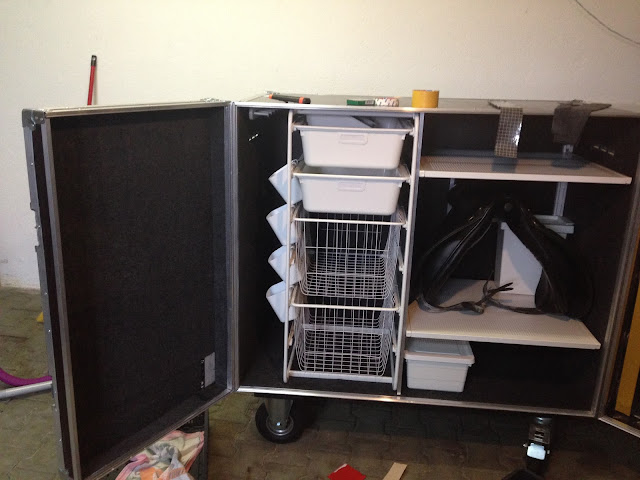
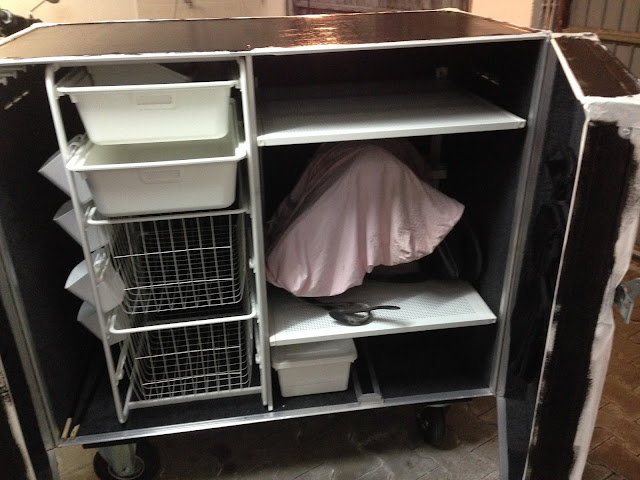
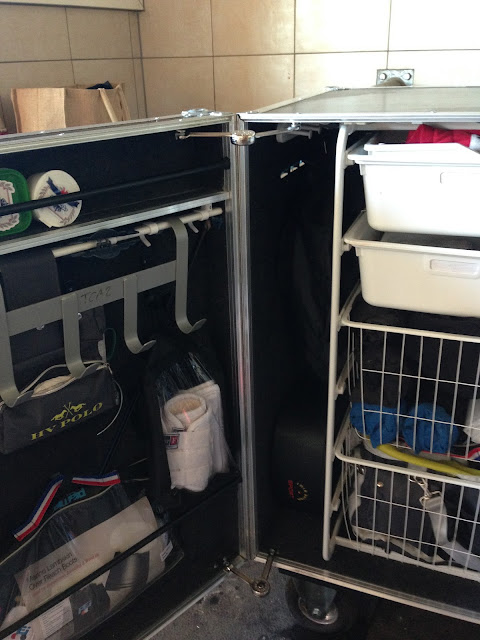
| The whole interior was wainscoted with felt from Ikea which is originally used for drawers. With that, I was able to hide all the mistakes from grining and pre-drilling as well as hide those rivets. It makes cleaning the tack locker a tad bit more difficult but it looks nicer. |
 |
| Even the saddle fits" |
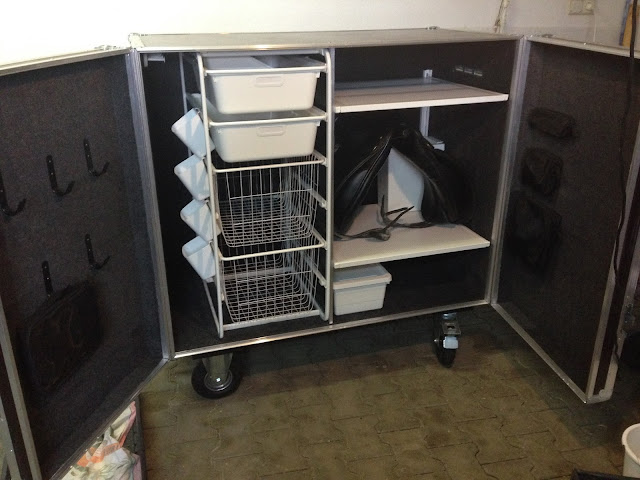 |
| More hooks and bags attached to the doors. And then... |
 |
| ...I started to apply a ground coat. That is what I learned from the Home Depot guys: paint does not work on Plywood as it is already coated so you NEED a primer. Well, learned the hard way. Covering all the hardware was another stupid extra job. |
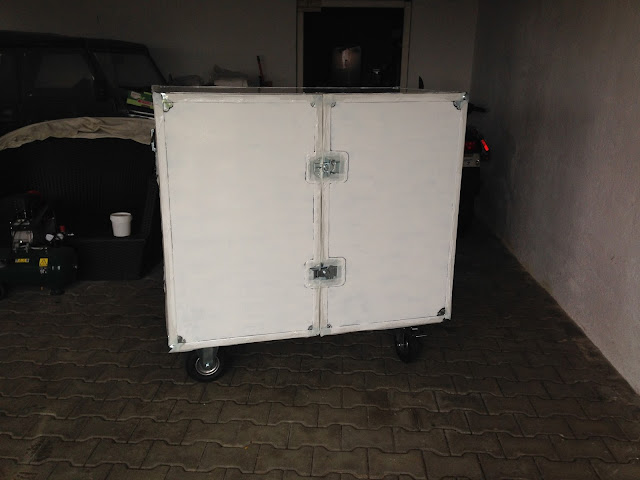 |
| Of course, one layer is never enough. But soon... |
 |
| ...I could re-start paining |
 |
| I kid you not, there is still traces of primer and paint on the hardware - even though I had it covered up and cleaned it thoroughly with a kitchen sponge aftrwards. A little sprinkle never killed nobody. |
 |
| Every time I looked inside, I was in love. |
 |
| Getting rid of the tape |
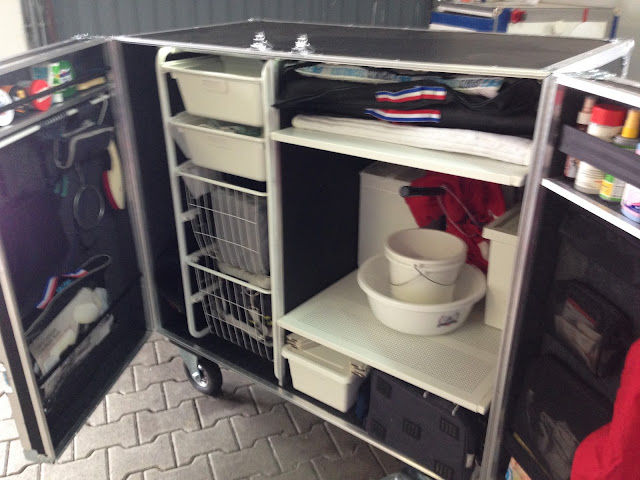 |
| And putting all stuff in! |
 |
| Everything has its place |
 |
| Only the wheelbarrow and the poop scoop do not fit |
 |
| Later that year I added some additional hardware to make sure that the doors stay open - as I have learned at one show that this could save lives - not literally. |
 |
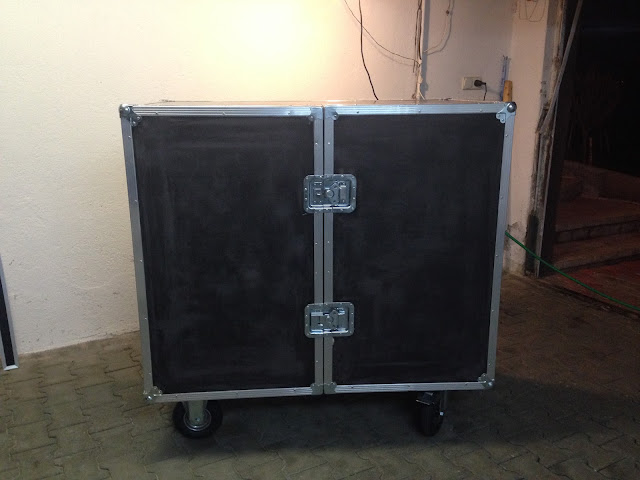
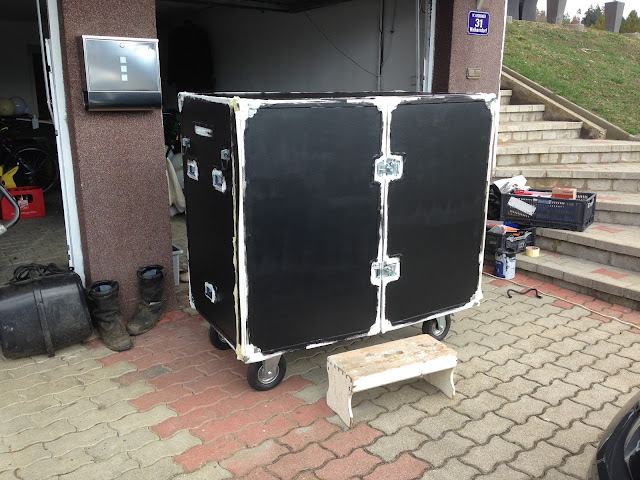
| And here it is, in front of the trailer. A perfect pair. |
 |
And even two bales of hay fit on the right side of the trailer with the tack locker in place.
|
The whole project looked way easier on paper I have to admit and despite all the drawbacks, it was a ton of fun and I have learned so much. I really love the interior and it showed during last season, that it perfectly fits our needs. I might use bigger wheels next time and I will put a little electrical winch in the trailer to get it easier on the trailer but THIS is a project for this year....


No comments:
Post a Comment