It's been two years already since
I posted about the little DIY on my horse trailer. The trailer itself was pretty new when I bought it two years ago but still, it seemed that there were things that could be improved. Challenge accepted!
 |
Hallelujah!
|
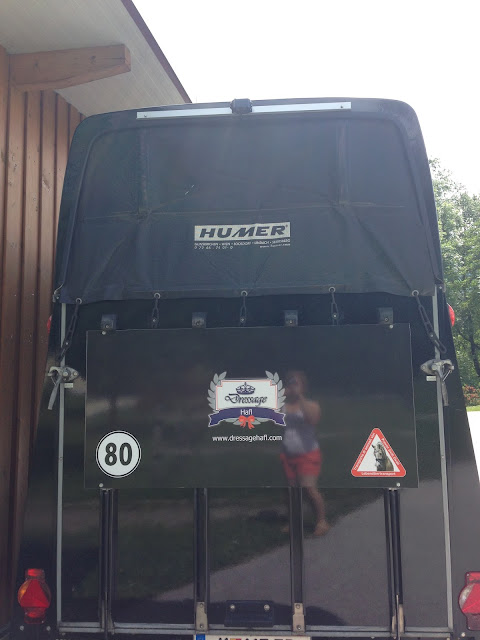
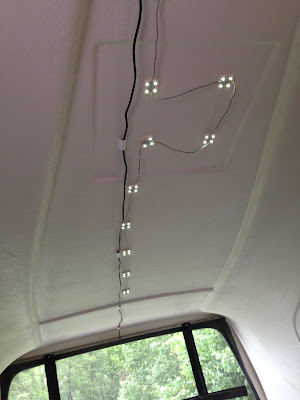
Back then, we added some Corporate Identity to the trailer. That was actually the easiest part. After that, we added battery powered LED lights to the tack department and the trailer inside - with that, we do not necessarily need the trailer attached to the car to have a well-lit trailer. Very handy when you bring your saddle back to the trailer in the dark at a show or come back home late from a horsey weekend and still need to do the cleaning.
The trailer was already equipped with a camera such that you can watch the horses during while traveling. But now, we added ANOTHER camera: a rear view cam! With that, I am now able to put the car in whatever parking lot without having to get out hundreds of times. How cool is that? Thanks to the best boyfriend for all the screwing and adjusting and wiring and adjusting again. It works perfectly with the monitor we already have, I just have to switch between the two cameras as needed (pictures of the camera in action will follow - another show weekend to come).
 |
| Why is the trailer so clean that it even shows me in its reflection?! Please ignore me! |
 |
The rear end
 |
In the middle - see also the LED lights!
|
|
 |
| The front end |
And as I forgot to show you the LED lights: Voilà! Here you are:
 |
| AWWWWWWW |
 |
| And more AWWWWW |
And yes, you might have missed the sticker that we added to the front of the trailer (classy!):
We are now bored to be honest because we cannot add anything else to the trailer, can't we?!


No comments:
Post a Comment